
Introduction
Let’s build a Health&Fitness mobile app with React Native by integrating directly with Apple HealthKit and Android Health Connect.
By building this project, you will learn how to:
- Build React Native apps with Expo
- Create beautiful User Interfaces
- Create animated UI components with SVG and Reanimated
- Integrate with Apple HealthKit to fetch health data on iOS devices
- Integrate with Android Health Connect to fetch health data on Android devices
Here you can see the demo of the application you will build in this tutorial running on both iOS and Android devices.
Video tutorial
If you prefer a video tutorial, you can follow this project on our youtube channel.
Source code
You can find the source code of the final version of this project on our GitHub.
Initialize a new Expo project
Let’s create a brand new Expo project using the create-expo-app tool.
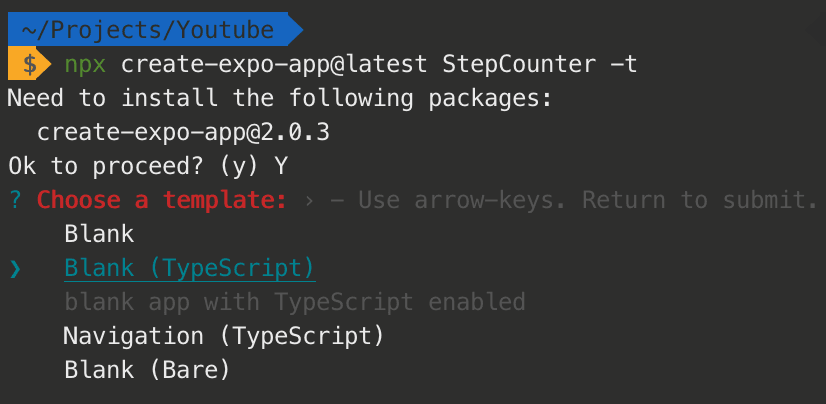
npx create-expo-app@latest StepCounter -t
If you don’t have the create-expo-app already install, npx will do it for you. Just press Y if asked.
For the template, let’s choose "Blank (TypeScript)".
After the project is initialized, let’s open it up in our editor of choice.
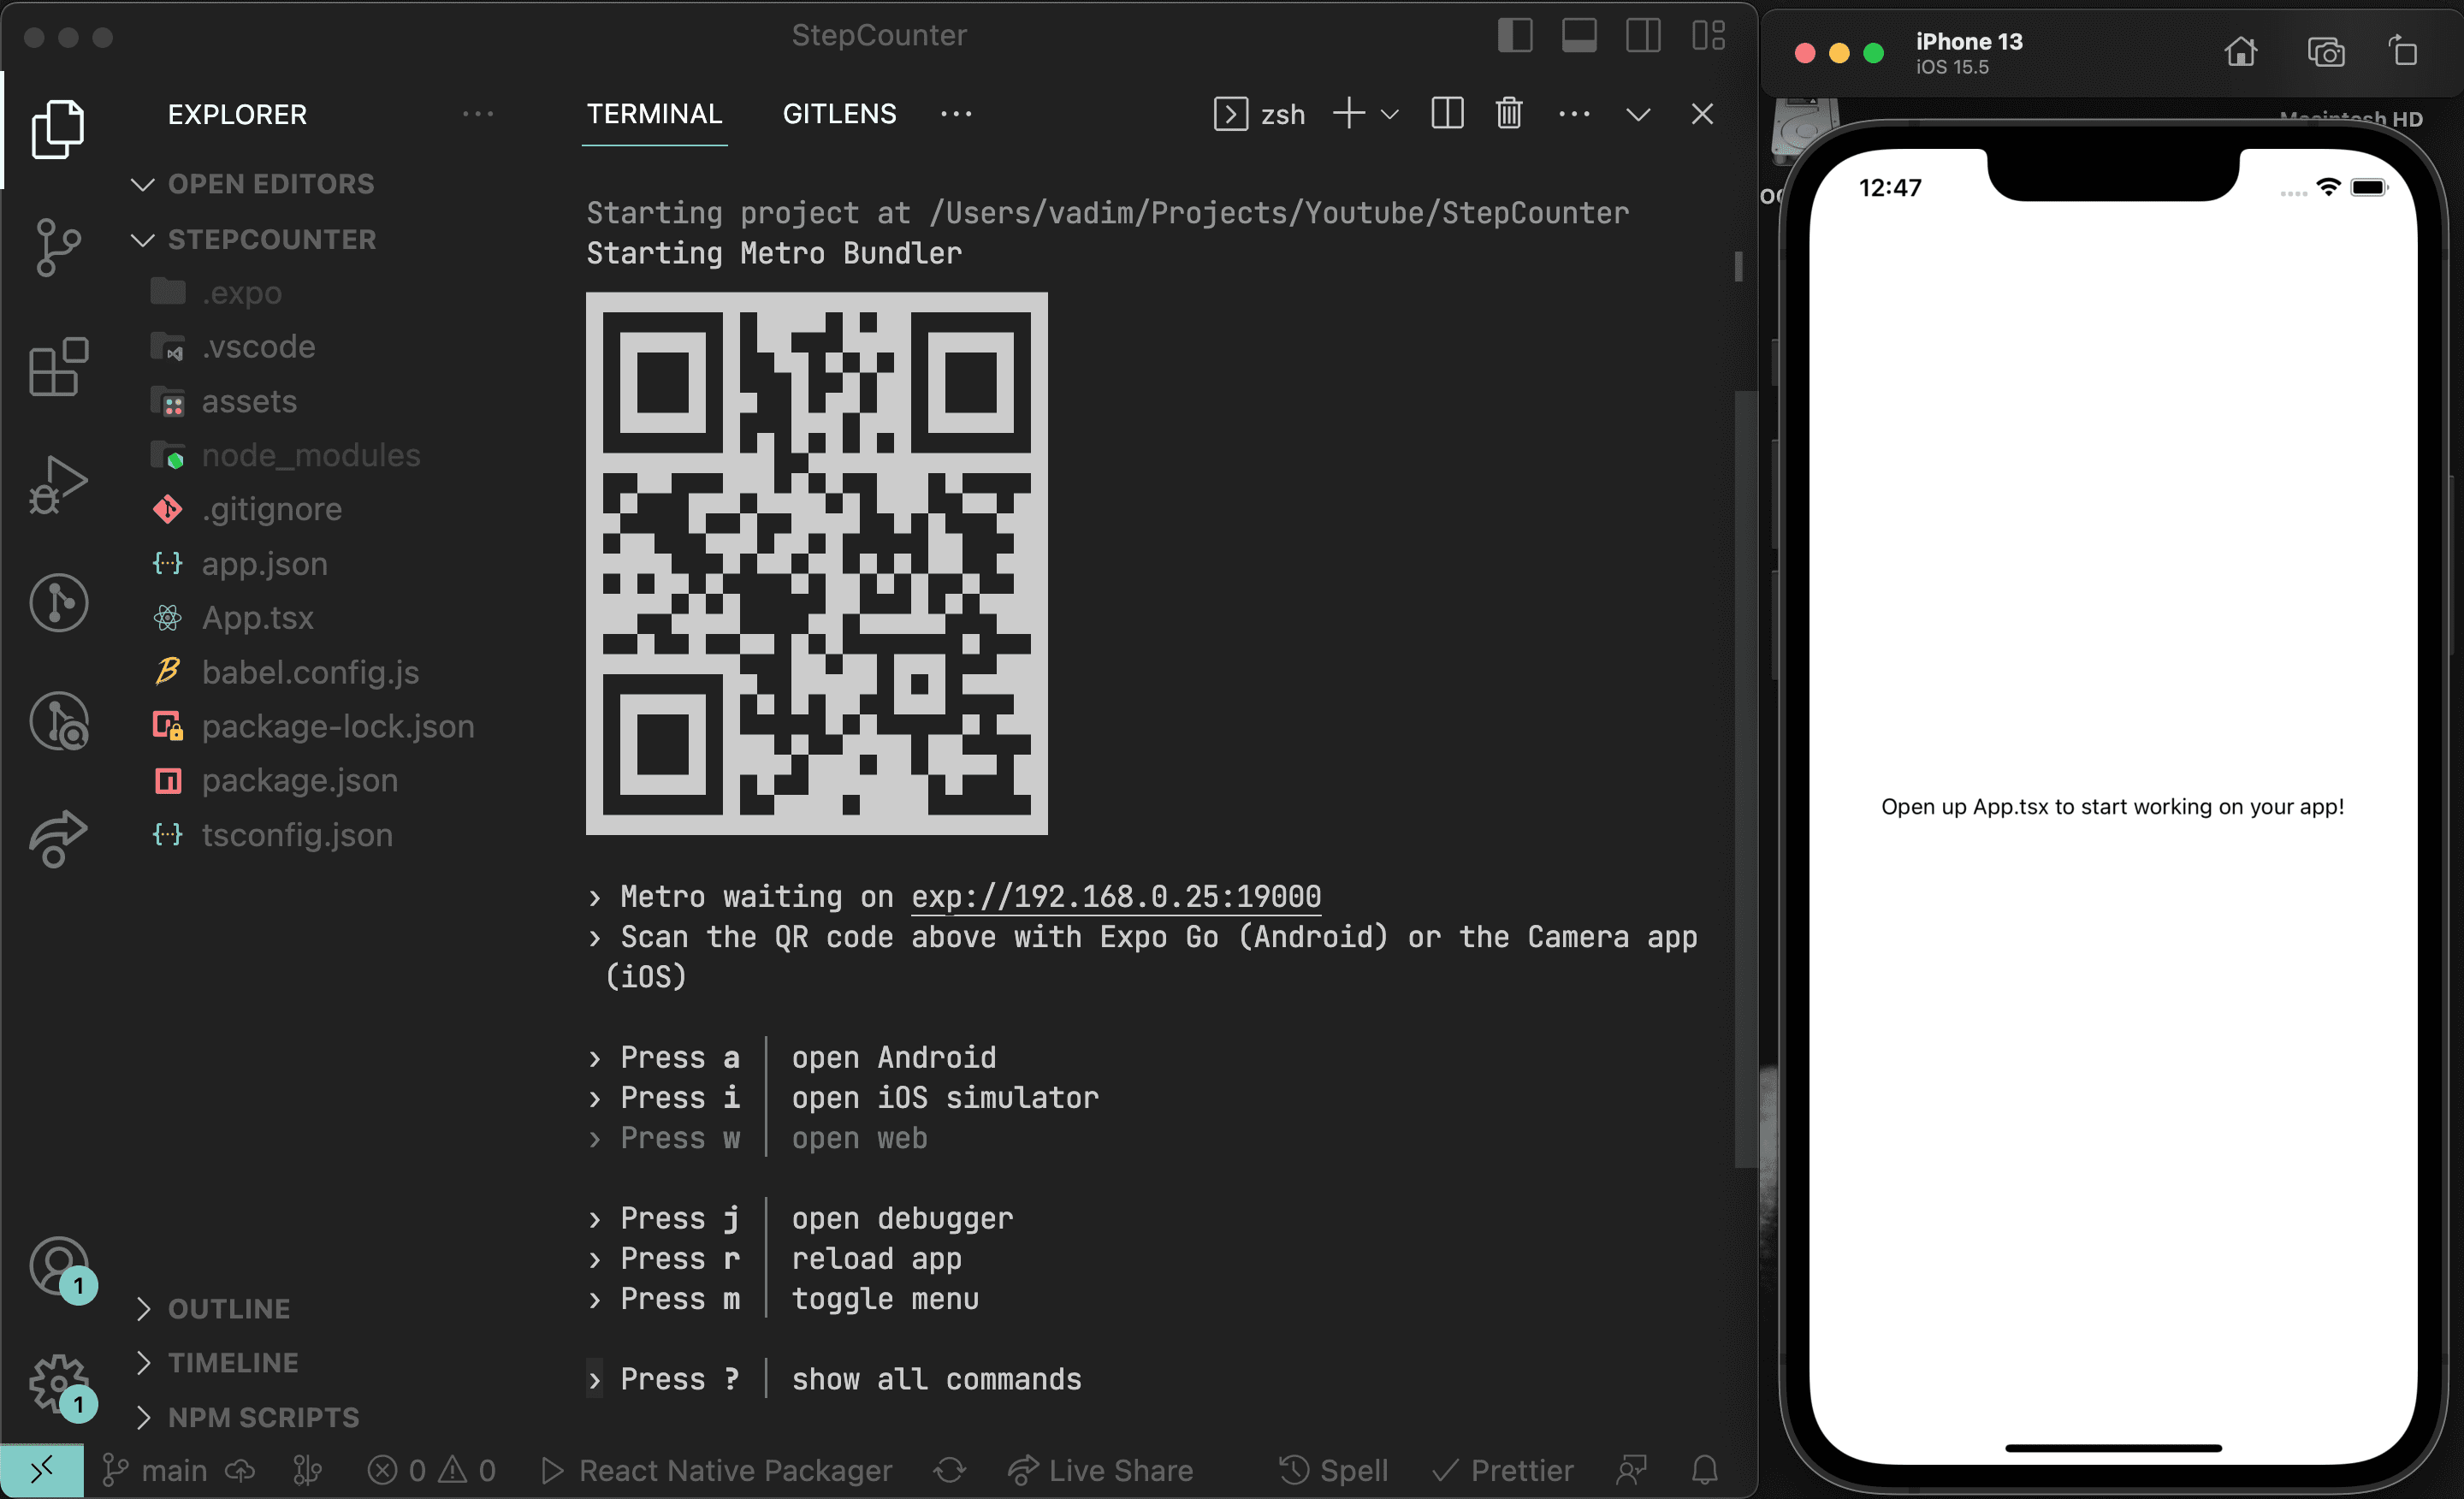
Open up a terminal, and let’s run the development server with npm start
The next step is to run our app on a device. The easiest way is to download the Expo Go app (available both on Play Market and App Store), and then scan the QR you see in the terminal. That way, you can continue to develop the app and see the hot updates directly on your device.
Optionally, you can run the app on an iOS Simulator by pressing i or on Android Emulator by pressing a. But for this, you have to set up the emulators using Xcode or Android Studio.
When you see the app running on your device, you can open the file App.tsx and change the text to "Hello world". If we see the app fast refresh and display the updated text, we are ready for the next step.
Step-counter UI
Let’s start building our user interface. Our app will look very similar to Apple Fitness. It has a minimalistic and beautiful UI.
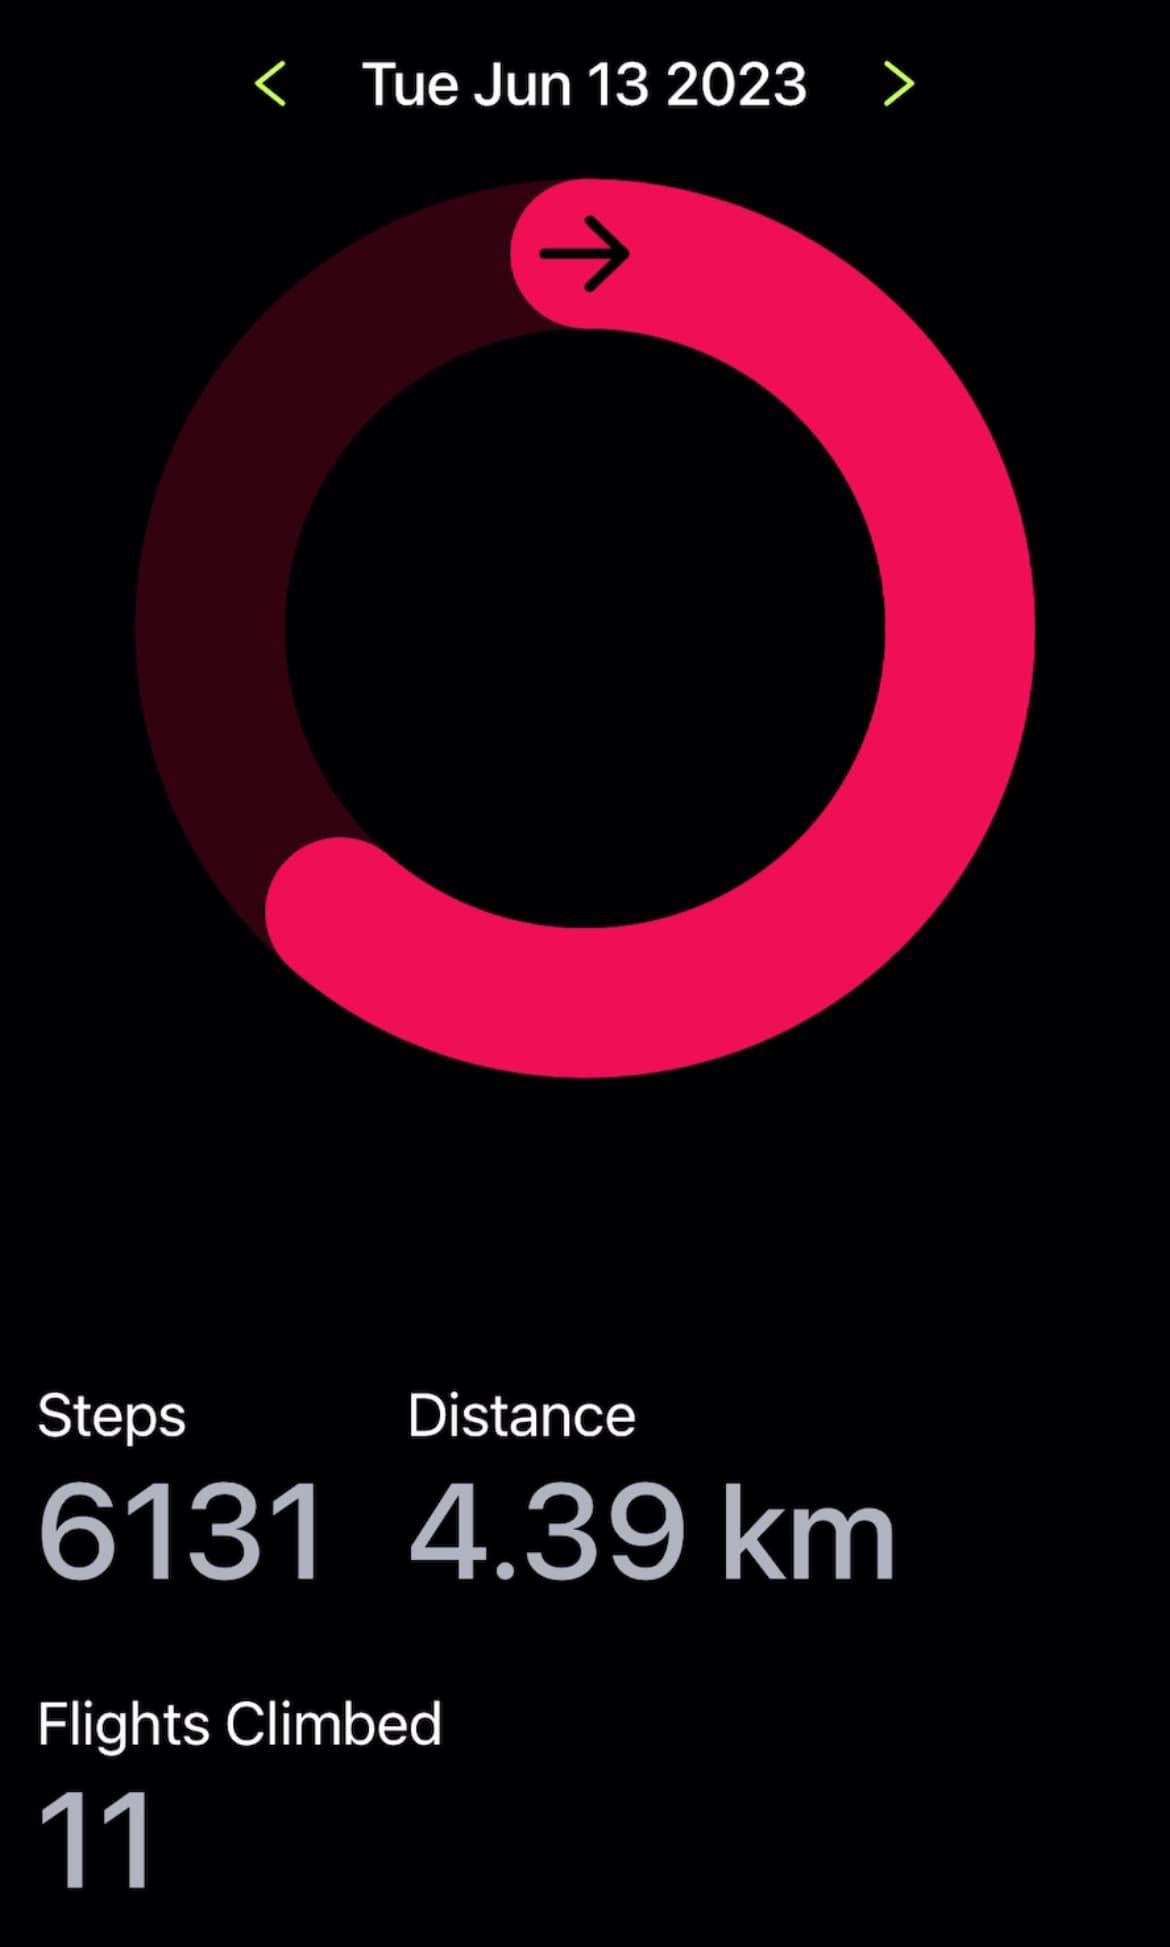
The most exciting component on this page is the Animated Progress Ring in the middle of the screen. We will get into it in a moment, but first, let’s start with the values displayed on the bottom
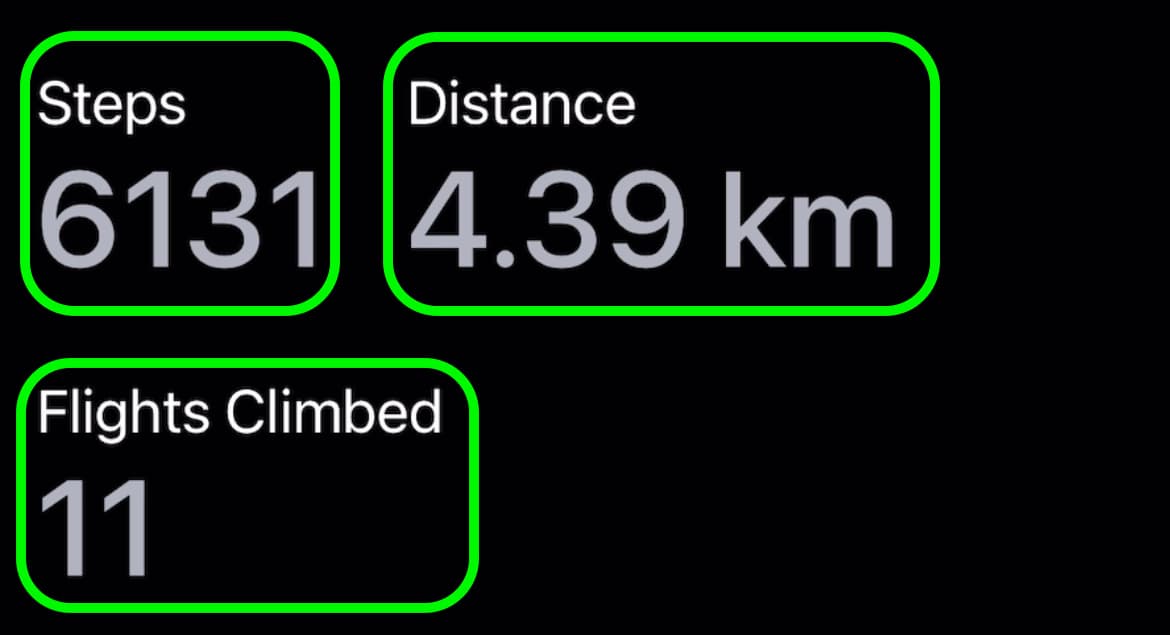
The values are displayed as a group of 2 texts: Lable and Value. Let’s create a reusable component, that will receive the label and the value as properties, and will render a component with its styles.
First, create the src and src/components folder, and a file for our new component src/components/Value.tsx
import { StyleSheet, Text, View } from 'react-native';type ValueProps = {label: string;value: string;};const Value = ({ label, value }: ValueProps) => (<View><Text style={styles.label}>{label}</Text><Text style={styles.value}>{value}</Text></View>);const styles = StyleSheet.create({label: {color: 'white',fontSize: 20,},value: {fontSize: 45,color: '#AFB3BE',fontWeight: '500',},});export default Value;
Let’s import our newly created component inside App.tsx and render our values on the screen.
Also, make sure to change the backgroundColor of the container to black, and also add the styles for values container. This container will be displayed as a row, and we are making the space between items, using the gap property newly introduced in React Native.
import { StatusBar } from 'expo-status-bar';import { StyleSheet, Text, View } from 'react-native';import Value from './src/components/Value';export default function App() {return (<View style={styles.container}><View style={styles.values}><Value label="Steps" value="1219" /><Value label="Distance" value="0,75 km" /><Value label="Flights Climbed" value="12" /></View><StatusBar style="auto" /></View>);}const styles = StyleSheet.create({container: {flex: 1,backgroundColor: 'black',justifyContent: 'center',padding: 12,},values: {flexDirection: 'row',gap: 25,flexWrap: 'wrap',}});
With this, we have a basic UI that can render the text information for our Step Counter app.
Animated Progress Ring
Follow the Animated Progress Ring in React Native using SVG and Reanimated tutorial to build the animated progress ring.
After successfully building the animated progress ring, let’s add it to our project.
Firstly, install the svg and reanimated library
npx expo install react-native-svg react-native-reanimated
Then, let’s create a new file src/components/RingProgress.tsx, and add the code of our newly created component.
import {View} from 'react-native';import SVG, { Circle } from 'react-native-svg';import Animated, {useSharedValue, useAnimatedProps, withTiming} from 'react-native-reanimated'import {useEffect} from 'react';import { AntDesign } from '@expo/vector-icons';const AnimatedCircle = Animated.createAnimatedComponent(Circle);type RingProgressProps = {radius?: number;strokeWidth?: number;progress?: number;}const color = "#EE0F55";const RingProgress = ({radius = 100, strokeWidth = 30, progress = 0.5}: RingProgressProps) => {const innerRadius = radius - strokeWidth / 2;const circumference = 2 * Math.PI * innerRadius;const fill = useSharedValue(0);useEffect(() => {fill.value = withTiming(progress, {duration: 1500})}, [progress]);const animatedProps = useAnimatedProps(() => ({strokeDasharray: [circumference * fill.value, circumference]}))return (<View style={{width: radius * 2, height: radius * 2}}><SVG style={{flex: 1}}>{/* Background */}<Circler={innerRadius}cx={radius}cy={radius}fill="transparent"stroke={color}strokeWidth={strokeWidth}opacity={0.2}/>{/* Foreground */}<AnimatedCircleanimatedProps={animatedProps}r={innerRadius}cx={radius}cy={radius}fill="transparent"stroke={color}strokeWidth={strokeWidth}strokeDasharray={[circumference * progress, circumference]}strokeLinecap="round"rotation="-90"originX={radius}originY={radius}/></SVG><AntDesignname="arrowright"size={strokeWidth * 0.8}color="black"style={{position: 'absolute',alignSelf: 'center',top: strokeWidth * 0.1,}}/></View>)}export default RingProgress;
Now, we can import the Ring progress inside our App.tsx, and render it above our values.
import RingProgress from './src/components/RingProgress';...<RingProgress progress={0.8} />
Apple HealthKit integration
It’s time to integrate our app with Apple HealthKit in order to fetch Health data on iOS devices.
Follow the React-Native Apple HealtKit tutorial, and then come back for the next steps.
Android Health Connect integration
To make our application cross-platform, we have to get health data on Android devices as well. On Android, there is a new app called Health Connect that will serve as a central Health Data Hub on Android devices. This app is still in Beta, but the idea is to have it preinstalled on Android devices in the future.
Follow the React-Native Google Health Connect tutorial and then come back for the next steps.
Date picker
At this moment, our application is displaying the correct Fitness data (steps, distance, flights) for today both on iOS and Android. If we want to allow users to see the data for previous days, we will have to do some small changes and make the date for which we query health data dynamic.
Let’s start with rendering the date picker and storing the data in state inside our App.tsx
export default function App() {...const [date, setDate] = useState(new Date());const changeDate = (numDays) => {const currentDate = new Date(date); // Create a copy of the current date// Update the date by adding/subtracting the number of dayscurrentDate.setDate(currentDate.getDate() + numDays);setDate(currentDate); // Update the state variable};return (<View style={styles.container}><View style={styles.datePicker}><AntDesignonPress={() => changeDate(-1)}name="left"size={20}color="#C3FF53"/><Text style={styles.date}>{date.toDateString()}</Text><AntDesignonPress={() => changeDate(1)}name="right"size={20}color="#C3FF53"/></View>...</View>)};
Now, we would be able to change the date using this picker at the top of the screen, but at this moment, the health data will not update yet.
We have to send the date variable to the useHealthData hook, and then use it inside our hook for the data fetching filtering.
Inside App.tsx, change to:
const { steps, flights, distance } = useHealthData(date);
And inside, useHealthData.tsx we will have to do a couple of changes. First, we will receive the date as a parameter of the hook:
const useHealthData = (date: Date) => {
Use this date when querying the data from Apple HealthKit, and make sure to add the date as a dependency of that useEffect, in order to fetch new data whenever the date changes.
useEffect(() => {if (!hasPermissions) {return;}const options: HealthInputOptions = {date: date.toISOString(),includeManuallyAdded: false,};...}, [hasPermissions, date]);
Use the same date when fetching the data from Android Health Connect.
const timeRangeFilter: TimeRangeFilter = {operator: 'between',startTime: new Date(date.setHours(0, 0, 0, 0)).toISOString(),endTime: new Date(date.setHours(23, 59, 59, 999)).toISOString(),};
And also make sure to add the date as a dependency of the useEffect that fetches Android data.
Now, give it a try. When changing the date from the date picker, your app should show the updated health data for that date.
Congratulations 🎉
If you reached this point, that means you managed to build this Health Application.
I hope you enjoyed it and also learned something new.
If you did, consider sharing this project with someone that might benefit from it as well. I would appreciate your help 🙏
Episodes

Animated Progress Ring in React Native using SVG and Reanimated
Let’s build an animated progress ring, similar to Apple’s Fitness Rings. We will use react-native-svg to render the ring and React Native Reanimated to animate it 🤩

React-Native Apple HealtKit
Integrate your React Native application with Apple HealthKit to access Health & Fitness data 🏃

React-Native Google Health Connect
Integrate your React Native application with Android Health Connect to access Health & Fitness data 🏃