

Introduction
You have worked tirelessly on your app and now you are ready to publish it to the world. Congrats, that’s a great milestone 🎉
But, before you hit publish, there are a couple of things you can do to make sure the launch is smoother and the initial users will have a better experience.
In this post, I will go through 5 important steps to take before you launch your app.
- Test, test, test
- Add Error Boundaries to prevent app crashes
- Add a crash reporting tool
- Setup analytics
- Setup Over-the-air updates
1. Test, test, test
Here I am not talking about automated testing like unit tests or integration tests. Although they are a great tool to ensure that your app works as expected now and over time, as you add new features, I believe that not everyone has the bandwidth to implement them. Especially if you are building the app solo.
The least you can do is 🐒 Monkey test the application. That simply means using the application and manually testing different scenarios.
Not all bugs and issues should be a priority, because if they will be - you will never get to a point where you feel confident to launch. Just take notes of them, and focus on high-priority issues.
What are high-priority issues?
App crashes
App crashing on the initial load or hanging on the splash screen is a very common issue that should not be ignored. Most of the time, we test the app in development mode. Everything works fine until we build it for production and all of a sudden the app crashes. These crashes are hard to debug, as you don’t easily have access to the logs to investigate the issue. If you are using Expo, you can run the app in production mode following this guide or, you can pre-build your app for Android and/or iOS and then open the project in Android Studio or Xcode to debug why the app crashes on launch. More details here.
Issues with subscriptions or monetization
If there is money involved, customers are more likely to be angry if something is not working. This usually leads to a bad review on App stores, which will impact your app's performance in the stores.
Make sure you thoroughly test the features behind a paywall and make sure that people who subscribe are getting access to them.
2. Error Boundaries
Error boundaries are a strategy to catch all unhandled errors at the app level, and display a user-friendly error screen, with details of what went wrong. Without error boundaries, any exception that might happen while using the app will lead to the app crashing.
If you are using Expo Router, you can simply export an ErrorBoundary component from a page or layout file. Read more.
Here is a simple ErrorBoundary component I exported from the root _layout and it catches all unhandled exceptions in the app, and instead of crashing, displays a user-friendly error message.

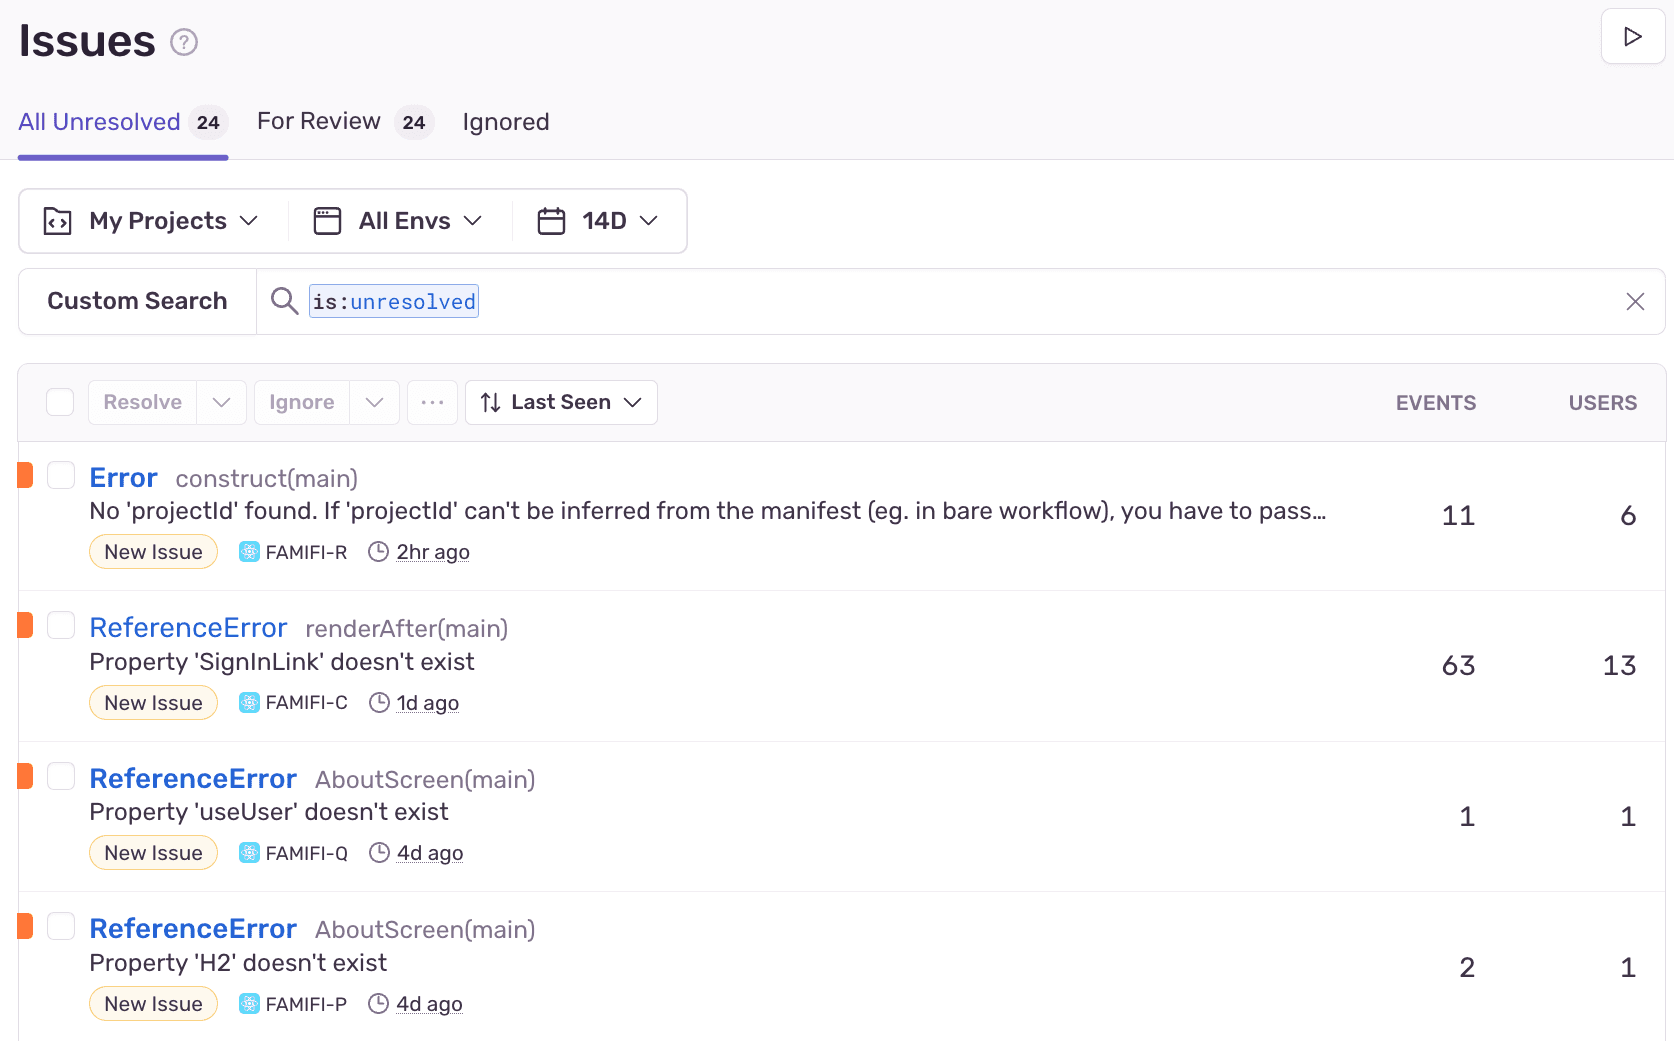
3. Crash Reporting
The truth is, that apps do crash. What we want to avoid, is not knowing that our app crashes in production.
That’s why integrating a crash reporting tool at this stage is a good idea. It will give you visibility on the things that go wrong on users’ devices while using your app. You will see stack traces and be able to understand the user flow that led to that issue.
For the app I am building during the Summer Startup Challenge, I integrated Sentry. Now, I can monitor the issues happening in production which otherwise I might not even be aware of.
4. Analytics
Analytics is a crucial aspect of all applications. Without data, you are just guessing.
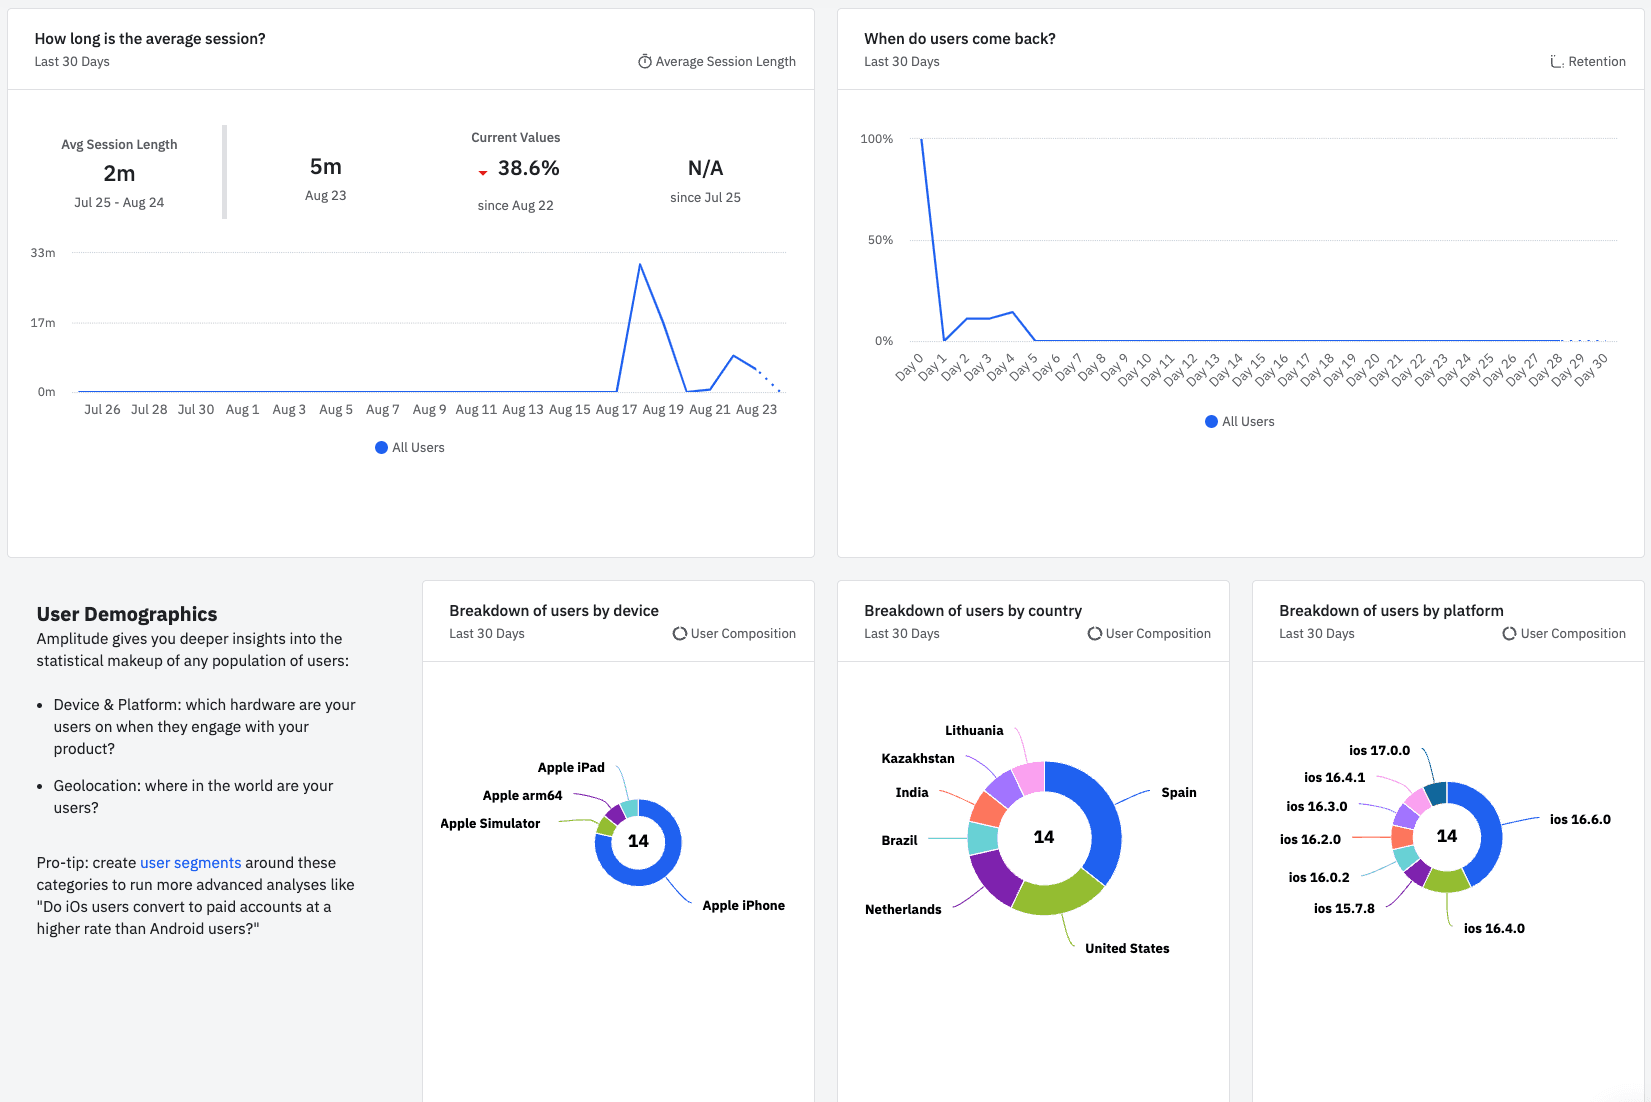
Setting up basic analytics is quite straightforward, and takes less than an hour. The benefit is it will give you a lot of information about who is using your app and how they are using it. You will have a clear picture of how many new users are coming to your app. What’s more important for healthy growth - is how many users you retain. In simple words, how many users keep using the app on day 7 (D7), day 30 (D30), etc.
There are a lot of analytics tools available out there. I used Firebase Analytics in some of my projects, and in the latest project, I gave Amplitude a try, which is working quite well.
Right out of the box, it gives me a good insight into the app usage (which is still in Testflight).
5. Setup Over-the-air updates
As developers, we should always expect bugs. When it comes to web apps, it is quite easy to fix a bug, and have it rolled out in production in a matter of minutes. For mobile apps, rolling out updates is not that easy.
Fixing a bug might take you 5 minutes, then you have to build the app which can take up to 30 minutes, then upload the new build to stores, then submit the app for review. Every new build should pass the review process, and it usually takes up to a day for Apple to review your new build. So, a quick bug fix will go into production quite late, and the impact of the bug will be significant on the users.
Is there a different way to update your app?
Yes, there is, and it is called Over-the-air updates (OTA). EAS Update is a service provided by Expo that offers OTA for React Native apps.
With OTA updates, after you finish a hotfix or even build a new feature, you send the updates directly to the end user, without having to create a new build and go through the review process.
The way it works is when the application is open on the user's device, it will check in the background if there are new updates and will download them. Then, the next time the user opens the app, the new update will be used.
The only limitation of OTA updates is when we make changes to the native code: install a new library with native code, make changes to native permissions, icons, name, etc.
Most of the time, when we have to make hotfixes, the bugs are usually on the javascript side, so they can be pushed as OTA updates.
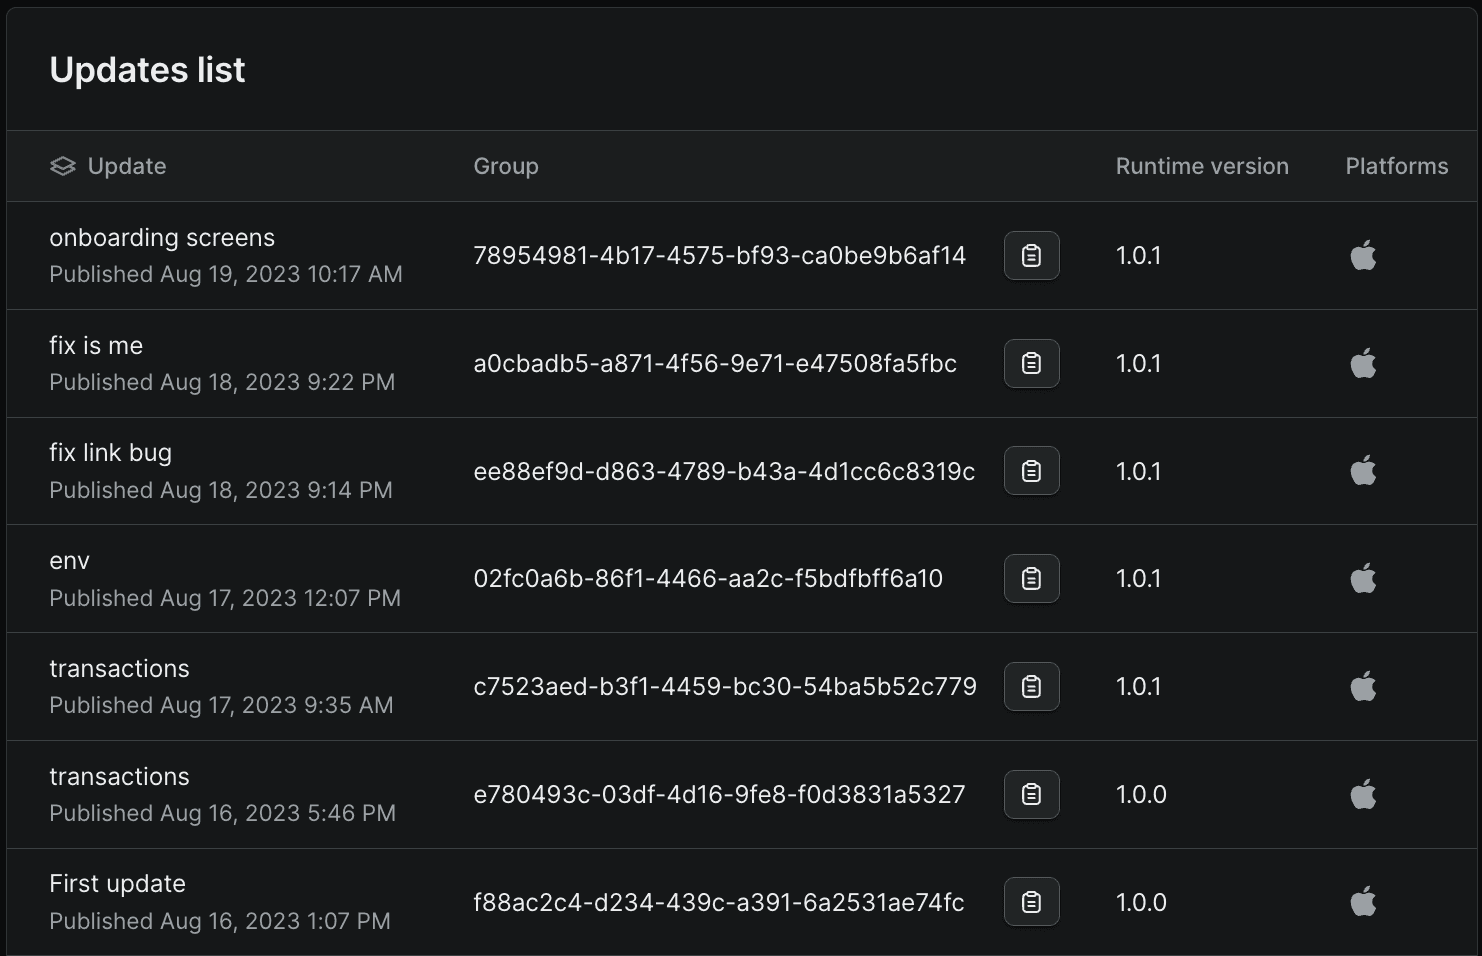
Set up EAS Updates now, and you’ll thank me later.
As you can see below, I have submitted only 2 builds (runtime: 1.0.0 and 1.0.1) but pushed a lot of hotfixes and even new features through OTA Updates.
Conclusion
We should always expect that something will go wrong in production, but that should not stop us from moving forward and publishing the app to the world. With some simple steps I outlined above, you can have more visibility into how the app performs in production. Most importantly, you will know how the users are using the app, and this can help you prioritize the next features you are going to work on.
With crash reporting will know when the app crashes, and with Over-the-air updates we can publish new fixes in a matter of minutes.
Let me know what else is important from a technical perspective before you launch the application.