
Introduction
Let’s build the Formula 1 mobile app with React Native.
The tech stack:
- React Native with Expo
- Expo Router
- Real data from a public API
- GraphQL API using IBM StepZen
Asset Bundle
The Asset bundle contains all the required assets to help you follow along.
Download Asset BundleInitialize the Expo project
Let’s start by initializing a new React Native project using Expo.
npx create-expo-app@latest F1 -t
For the template, choose "Blank (Typescript)" to start with a clean project.
After the project is initialized, let’s open it up in our editor of choice.
Open a terminal, and start the development server with npm start
The next step is to run our app on a device. The easiest way is to download the Expo Go app (available both on Play Market and App Store), and then scan the QR you see in the terminal. That way, you can continue to develop the app and see the hot updates directly on your device.
Optionally, you can run the app on an iOS Simulator by pressing i or on Android Emulator by pressing a. But for this, you have to set up the emulators using Xcode and/or Android Studio.
F1 API
For this project, we will use the Api-Formula-1. They provide data about Formula 1 races.
To request data, we can use curl with the following syntax. The {endpoint} should be replaces with the actual endpoint we need to query.
curl --request GET \--url 'https://api-formula-1.p.rapidapi.com/{endpoint}' \--header 'x-rapidapi-host: api-formula-1.p.rapidapi.com' \--header 'x-rapidapi-key: <YOUR_API_KEY>'
For example, to query the races in a season, we can send the following request:
curl --request GET \--url 'https://v1.formula-1.api-sports.io/races?season=2023&type=Race' \--header 'x-rapidapi-host: v1.formula-1.api-sports.io' \--header 'x-rapidapi-key: <YOUR_API_KEY>'
Build a GraphQL API using IBM Stepzen
Let’s add a thin GraphQL layer on top of the API-Formula-1.
This will make it easier to query exactly the data that we need form the client side. It will also allow us to switch the data provider in future, without changing the internal API design.
With IBM Stepzen, creating a GraphQL API is as easy as running one command. We can also connect it with multiple datasources.
We will start by connecting it to the REST API provided by API-Formula-1. Later, we can also connect it to a database, and add custom functionalities to our app. For example, we can evolve this app into a Fantasy app where you can create your own F1 team.
Setup the StepZen CLI
- Let’s install Stepzen CLI using npm install -g stepzen.
- Sign up for a free StepZen account
- Login inside your terminal using stepzen login and provide the details from StepZen Dashboard
We are ready to create our GraphQL API.
Setup the StepZen project
Create a new folder inside our React Native project, and navigate there:
mkdir stepzen && cd stepzen
Import the first endpoint
Let’s use StepZen’s ✨import✨ to magically create our GraphQL endpoint.
Let’s remind ourself how we used curl to get data about races
curl --request GET \--url 'https://v1.formula-1.api-sports.io/races?season=2023&type=Race' \--header 'x-rapidapi-host: v1.formula-1.api-sports.io' \--header 'x-rapidapi-key: <YOUR_API_KEY>'
Now, all we have to do, is add stepzen import in front of it, and a couple of extra headers to name this endpoint. In the end, we should get
stepzen import curl --request GET \--url 'https://v1.formula-1.api-sports.io/races?season=2023&type=Race' \--header 'x-rapidapi-host: v1.formula-1.api-sports.io' \--header 'x-rapidapi-key: <YOUR_API_KEY>'\--query-name "races" \--query-type "Race" \--name "races"
After executing this command, Stepzen will introspect the result from that request, and will automatically generate the graphql schema for our api.
All we have to do, is start the server with:
stepzen start
This will deploy your API to Stepzen, and it will be publicly accessible over the internet.
Open it up in Stepzen Dashboard and execute a query to see it in practice.
Race rankings query
While we are still here, we can also import our second endpoint to get the rankings for a specific race.
stepzen import curl --request GET \--url 'https://v1.formula-1.api-sports.io/rankings/races?race=50' \--header 'x-rapidapi-host: v1.formula-1.api-sports.io' \--header 'x-rapidapi-key: <YOUR_API_KEY>' \--query-name "raceRankings" \--query-type "RaceRankings" \--name "raceRankings" \--prefix "rank"
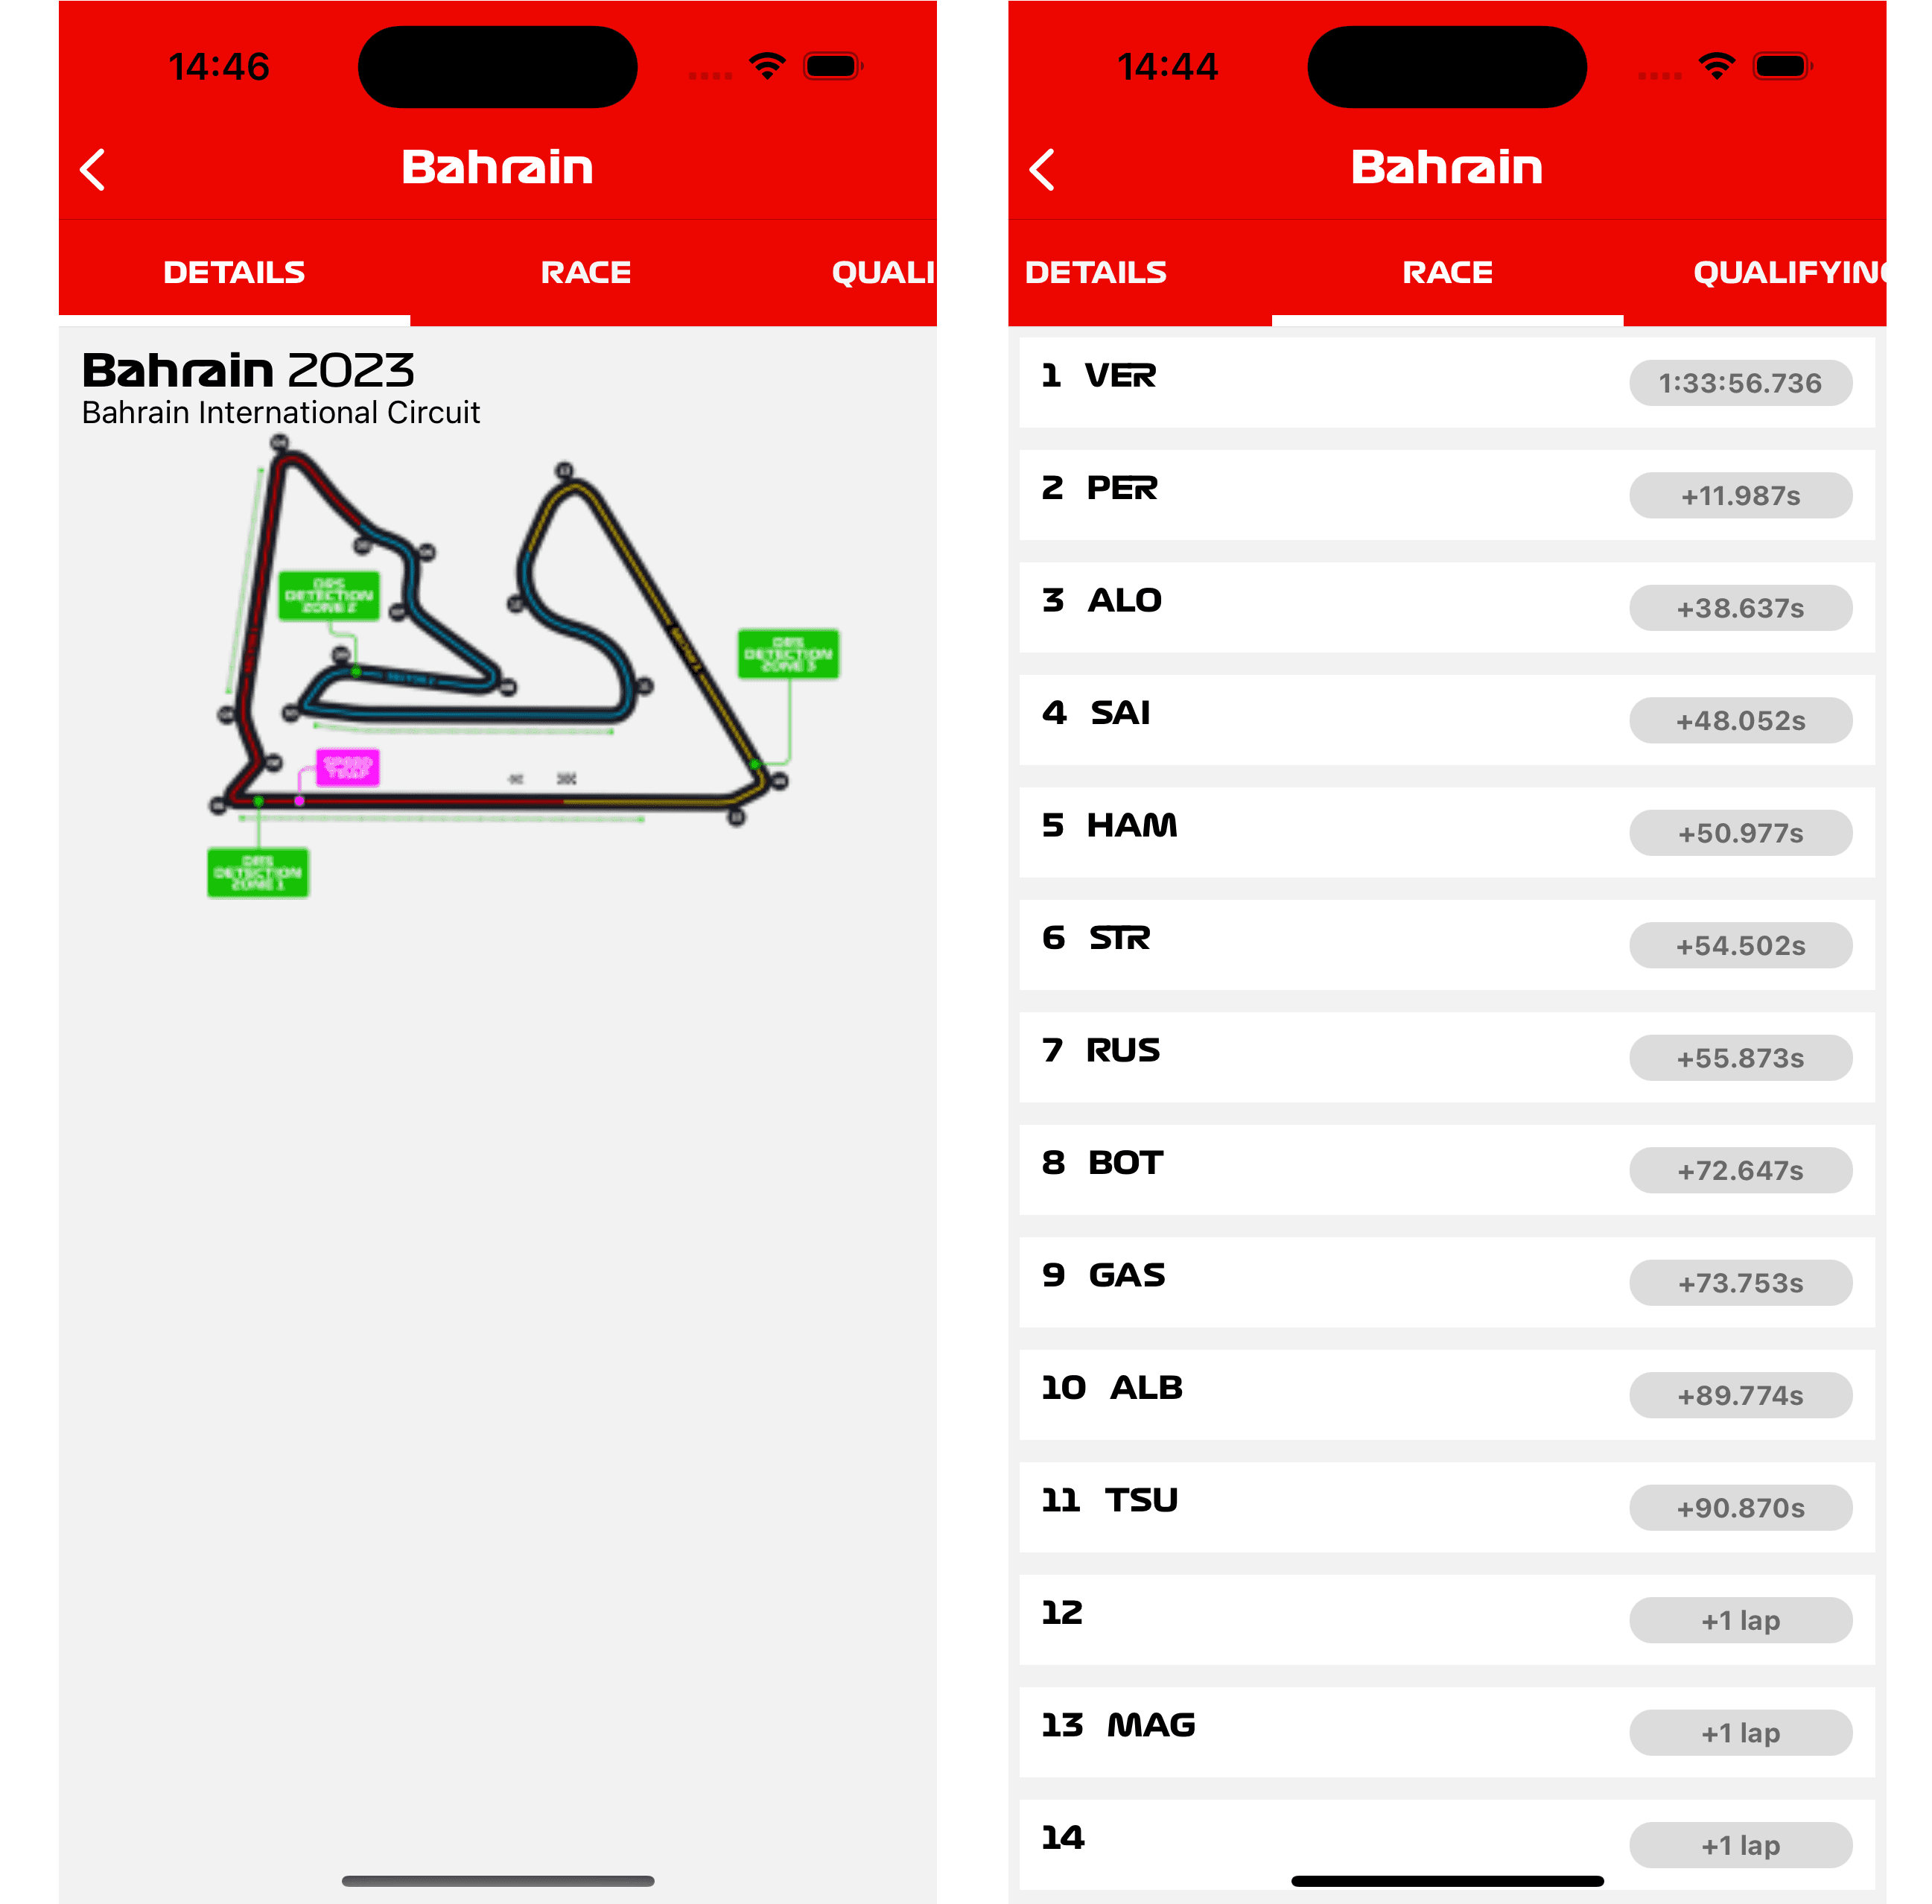
Home screen: the list of races
On the home screen, we will render a list of races.

Expo Router
Now that we will need multiple screens, let’s go ahead and configure Expo Router as our navigation library.
In this part, you will learn:
- Create screens
- Navigate between screens
- Customize the navigation UI elements
- Add a custom navigator: Material Top Tabs
Add the race details screens
Setup Apollo Client
To query the GraphQL API we will use Apollo Client. Let’s install it first:
npx expo install @apollo/client graphql
Create a new Provider (src/providers/ApolloClientProvider.tsx) and set up the Apollo client to connect to our StepZen API.
import { ApolloClient, InMemoryCache, ApolloProvider } from '@apollo/client';import { PropsWithChildren } from 'react';const client = new ApolloClient({uri: 'https://<ACCOUNT_NAME>.stepzen.net/api/<ENDPOINT_NAME>/__graphql',headers: {Authorization:'apikey <YOUR_API_KEY>',},cache: new InMemoryCache(),});const ApolloClientProvider = ({ children }: PropsWithChildren) => {return <ApolloProvider client={client}>{children}</ApolloProvider>;};export default ApolloClientProvider;
Make sure to import it inside src/app/_layout.tsx and wrap our <Stack> Navigator inside it.
return (<ApolloClientProvider>...</ApolloClientProvider></>);
Query the list of races
import { gql, useQuery } from '@apollo/client';const query = gql`query Races($season: String, $type: String) {races(season: $season, type: $type) {response {iddatecompetition {name}}}}`;...const { data, loading, error } = useQuery(query, {variables: { season: '2023', type: 'RACE' },});if (loading) {return <ActivityIndicator />;}if (error) {return <Text>Failed to fetch Races. {error.message}</Text>;}console.log(data);
Congrats 🎉
That’s it. We have managed to build some important screen in our F1 App. I recommend you to continue working on this project, and adding more features. That’s the best way to learn.
I hope you had fun building this project and learned something new about React Native, GraphQL and IBM StepZen.