
Introduction
Un-optimized images are one of the WORST performance killers of your app 😵💫
Instead of me explaining this problem, let me better show it using an example.
To render this simple profile screen, it took:
⏳ 15 seconds
🛣️ 88 MB bandwidth
After following this tutorial, the speed of our application improved by 99% 🤯. Now, the images are loading almost instantly.
⏳ 100 ms
🛣️ 419 kb bandwidth
In this tutorial…
You will learn how to implement the same solution for Image Optimisation in your application. We will first deploy the pre-made solution on our AWS Account. Then, we will integrate it inside a React Native application, however the solution is Frontend Agnostic, which means that we can integrate it anywhere.
In the end, we will talk about the Architecture that is powering this system and also the Pricing of the whole stack.
Asset Bundle
The Asset bundle contains the source code of the starting project and other required resources.
Download Asset BundleDeploy the Serverless Image Handler
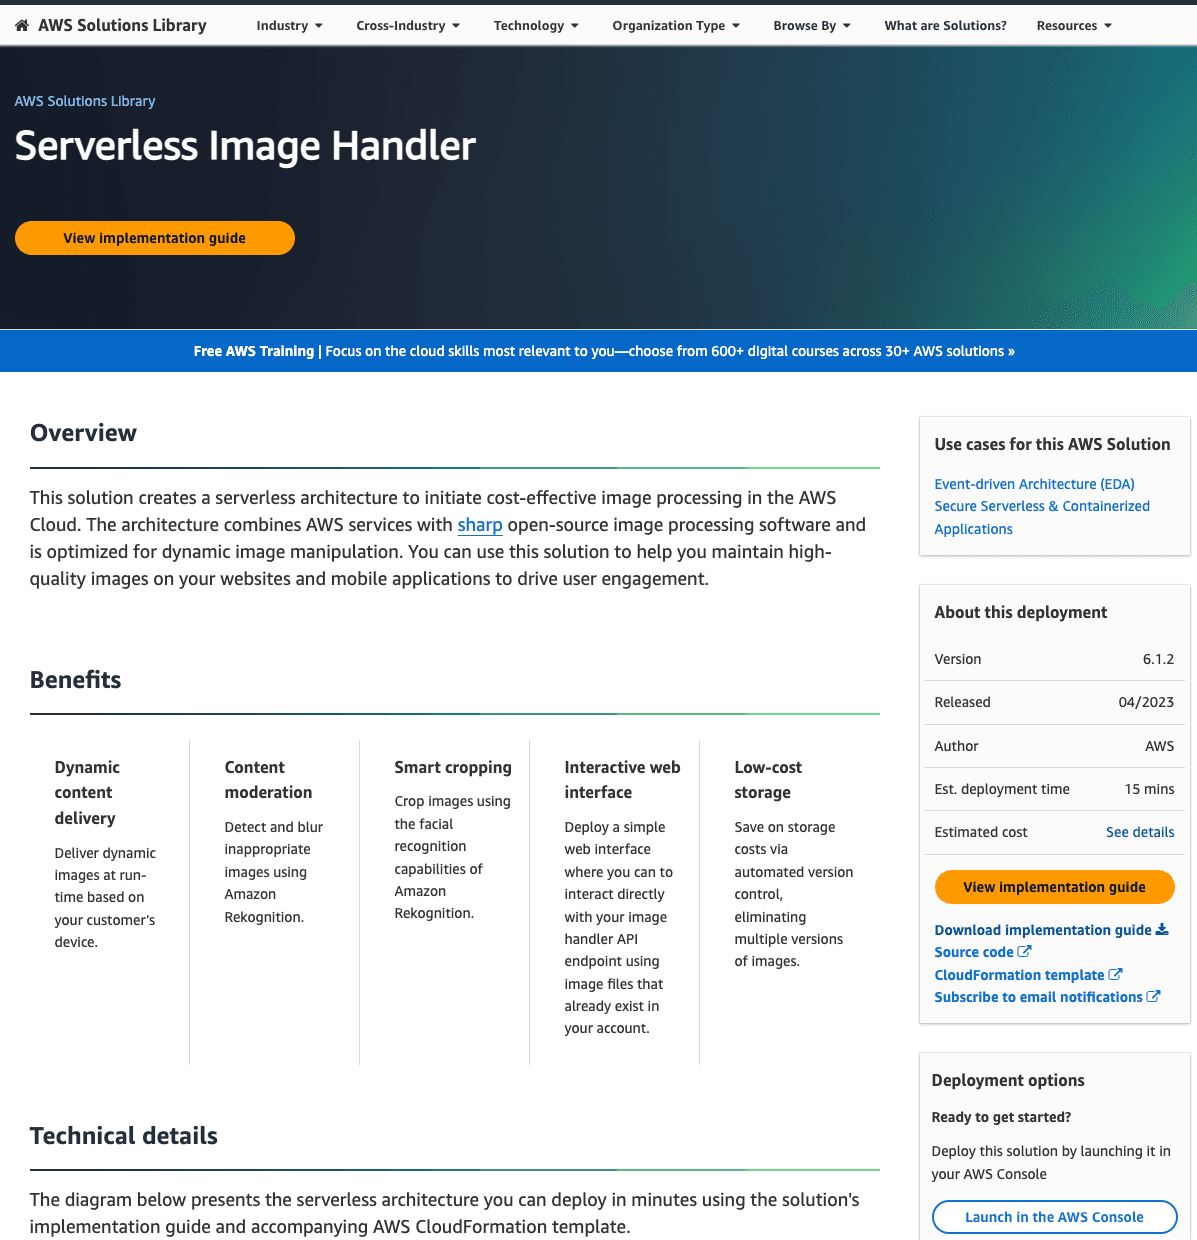
We will use a pre-made AWS Solution that can be launched with a click of a button. The only thing we need is an AWS Account.
Let’s open the Serverless Image Handler page, and press "Launch in the AWS Console"
Configure the stack
In the configuration page, we will leave most of the options as default, and only adjust the S3 bucket.
Assuming that you already have an existing S3 Bucket where you store user-generated images, let’s find it and copy its name. Add it under the Source Buckets field on the configuration page.
Deploy, and wait for the stack to be created on your account.
Let’s test it out
This solution comes with an optional Demo UI, that can help us play around with the deployed solution before we integrate it into a specific application. This is a great moment to test out if everything is working properly.
To open the Demo UI, navigate to the Outputs tab of our newly created CloudFormation Stack and open the DemoUrl.
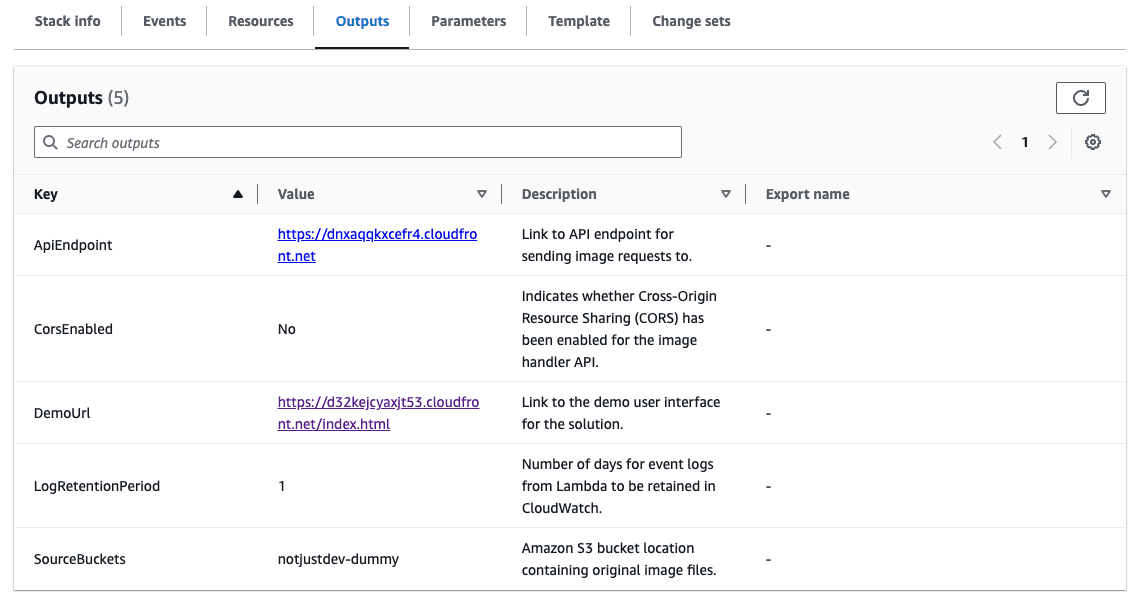
That should open the Demo UI, which looks like this
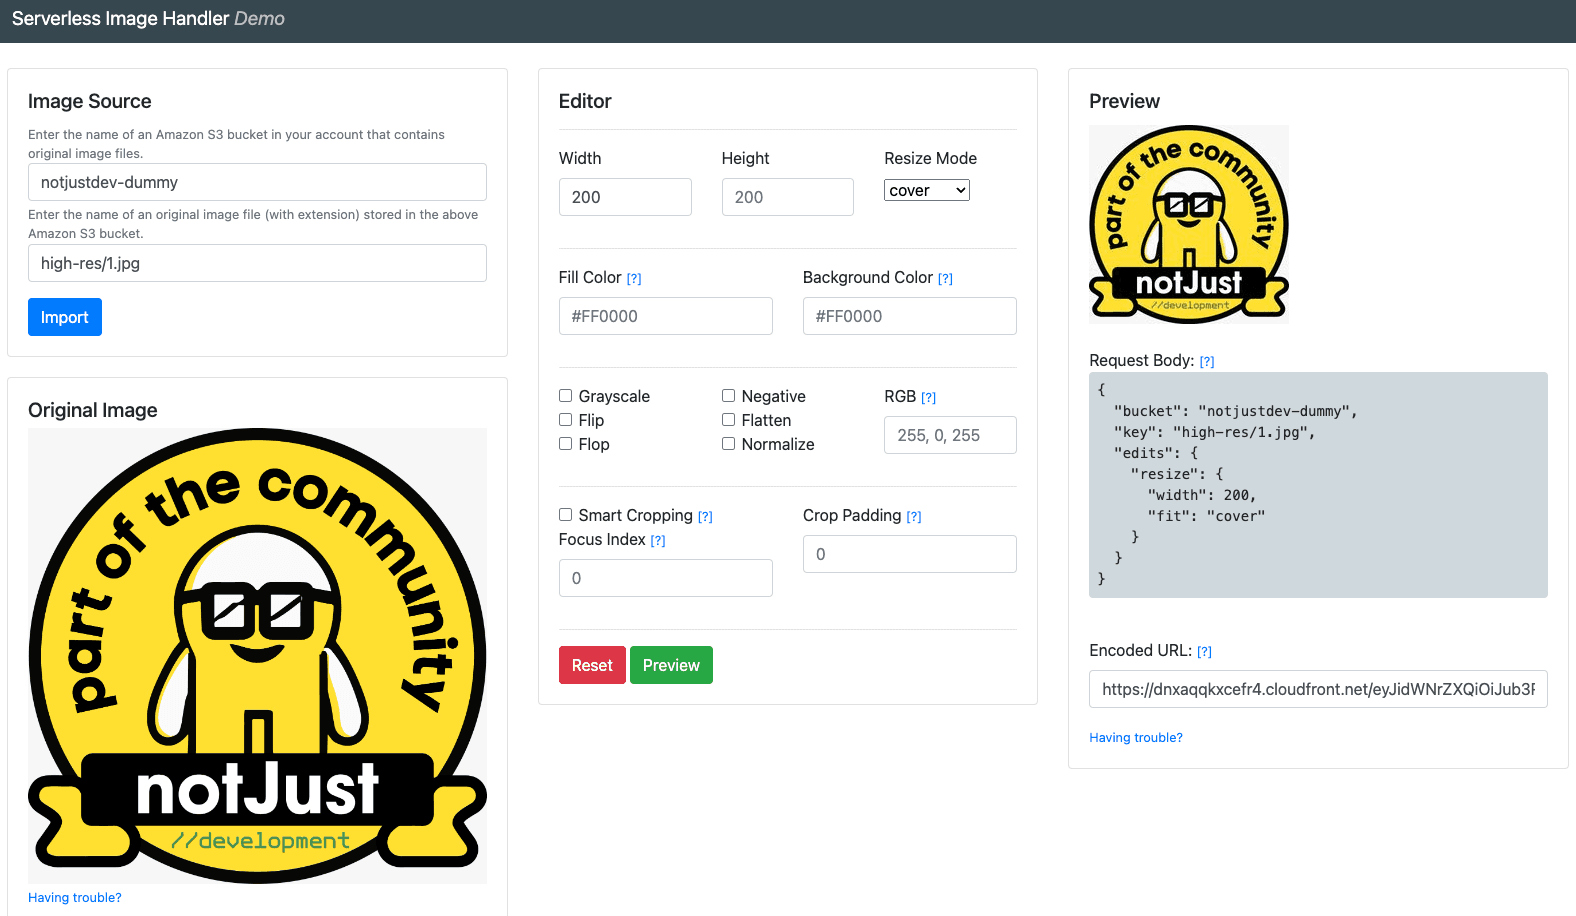
To test it out, follow the next steps:
- Add the bucket name and the file key in the Image Source section and press Import
- Change the Width and Height in the Editor and press Preview
- You should see the processed and resized image in the Preview section
Integrate the Image Handler in React Native
The process of integrating our client with the Serverless Image Handler is quite straightforward. Our application should do the next steps:
- Create the Image Request json. Ex:
{"bucket": "notjustdev-dummy","key": "high-res/hormozi.jpg","edits": {"resize": {"width": 200,"fit": "cover"}}}
- Stringify the json
- Base64 encode it
- Create the URL, by concatenating the ApiEndpoint + Encoded Request
- Use the URL as the source for our images
The full code in React Native is:
import { ComponentProps, useMemo } from 'react';import { Image } from 'react-native';import { Buffer } from 'buffer';type SmartImageProps = {imgKey: string;width?: number;height?: number;} & Omit<ComponentProps<typeof Image>, 'source'>;const bucket = '';const URL = '';const SmartImage = ({imgKey,width,height,...imageProps}: SmartImageProps) => {const uri = useMemo(() => {const imageRequest = JSON.stringify({bucket,key: imgKey,edits: {resize: {width,height,fit: 'cover',},},});const encoded = Buffer.from(imageRequest).toString('base64');return `${URL}/${encoded}`;}, [imgKey]);return <Image source={{ uri }} {...imageProps} />;};export default SmartImage;
Make sure to install buffer using npm install buffer.
Join the live stream
In the live stream on youtube, we also cover some of the advanced features of the Image Handler, the architecture, and also the pricing mode.